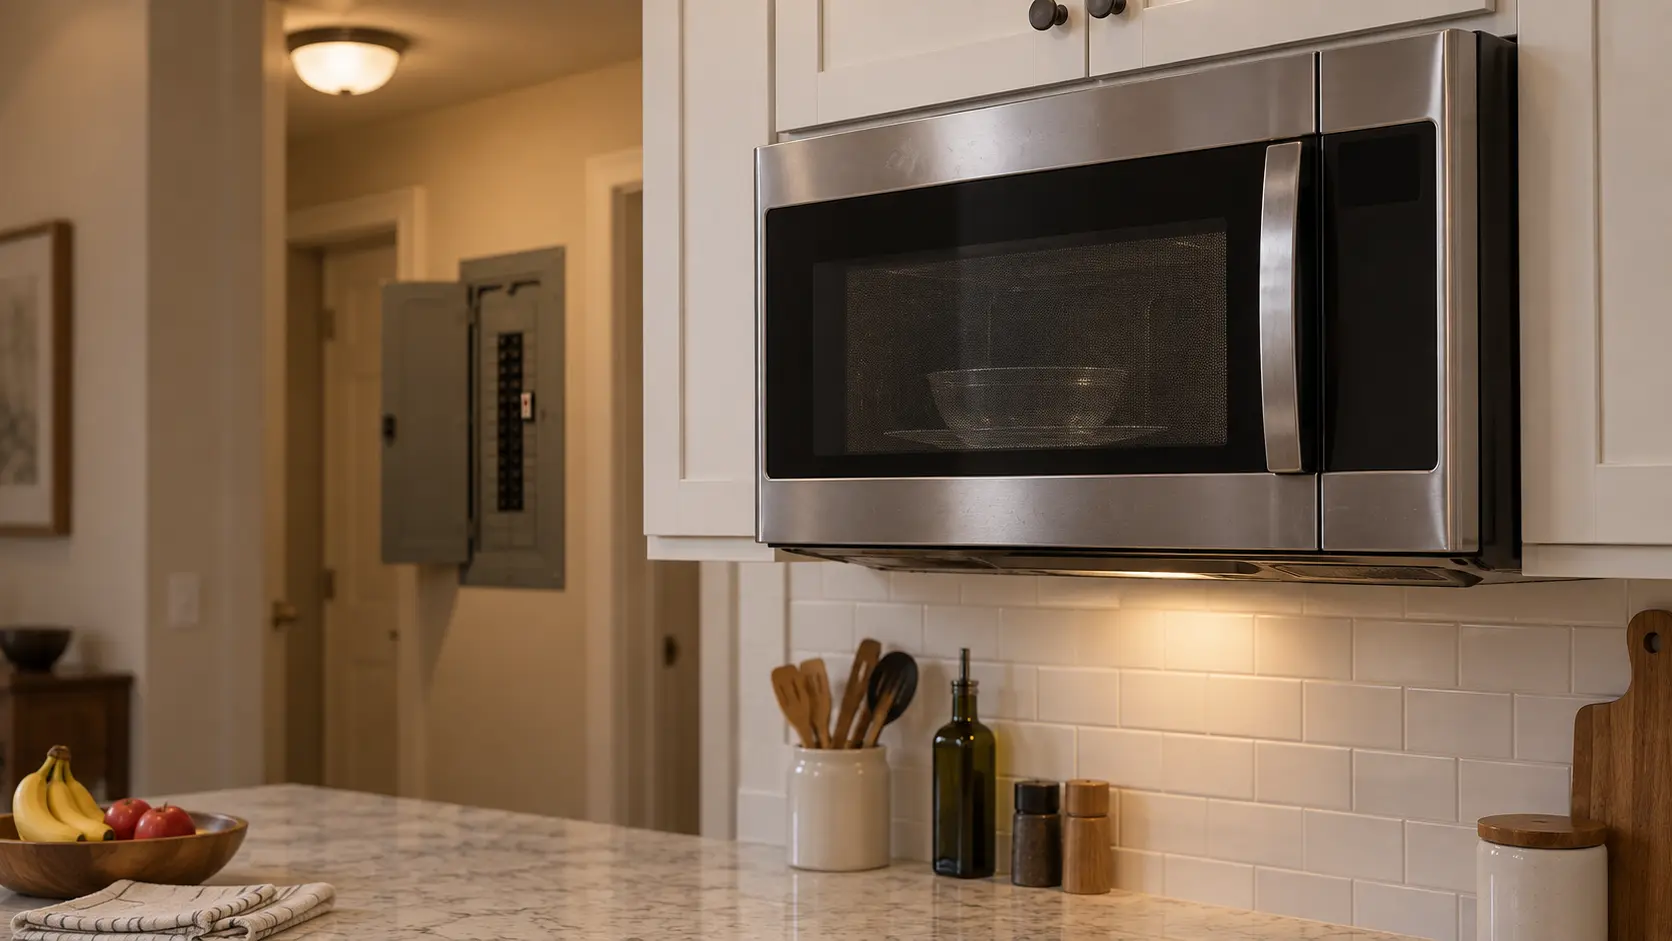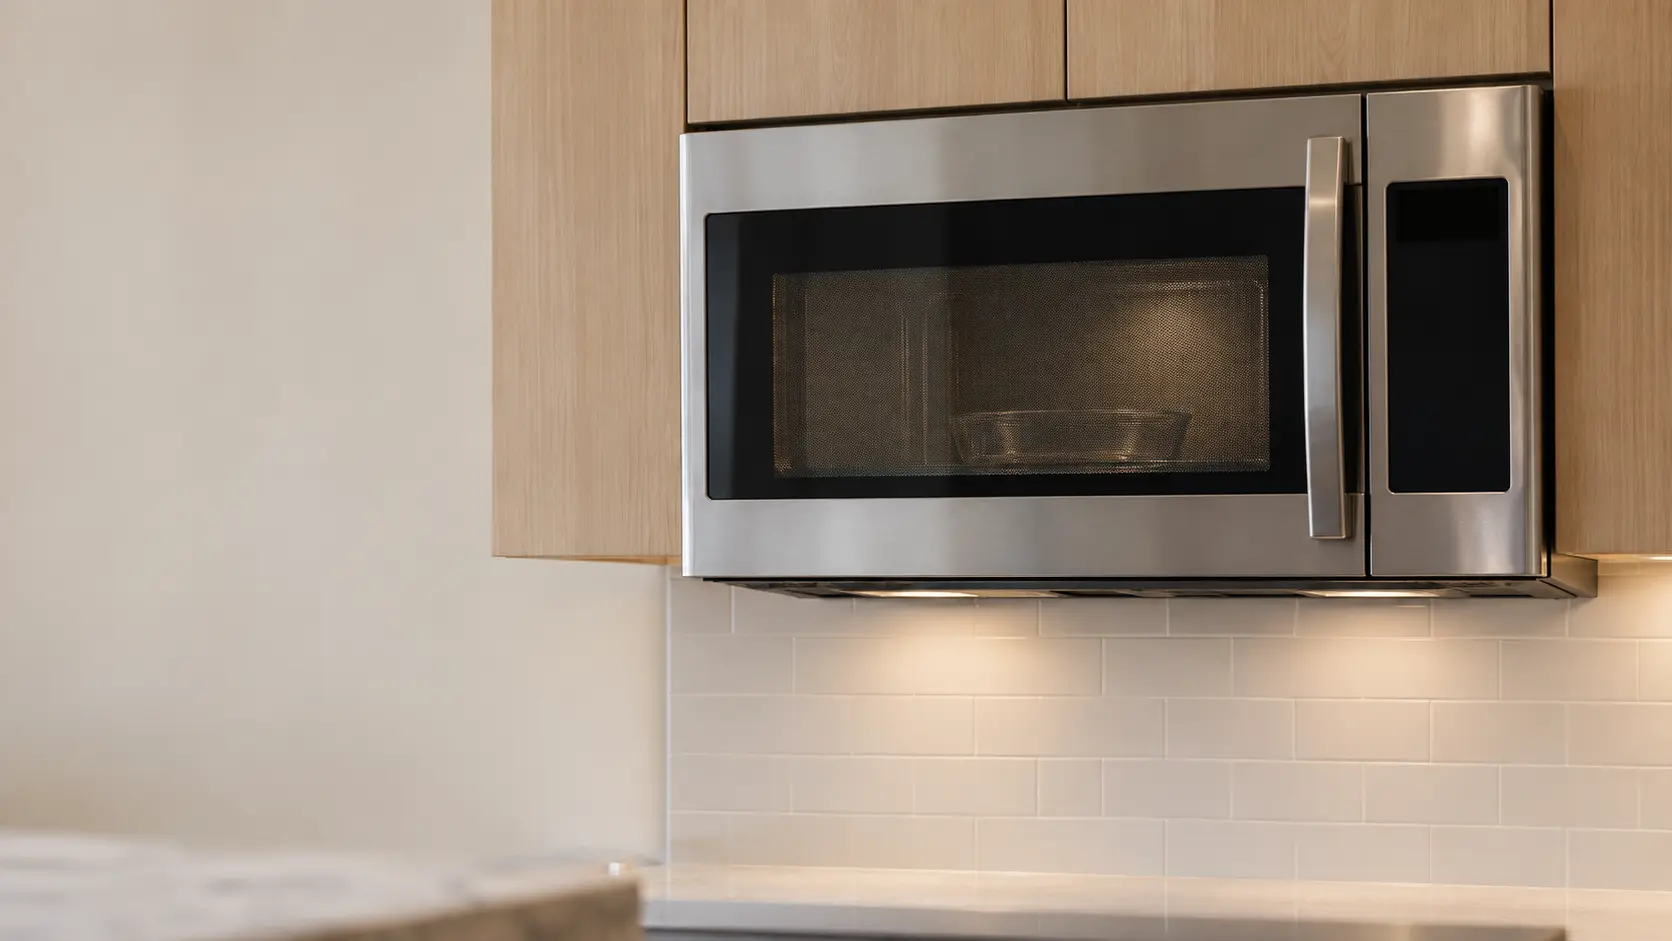

The space a microwave hood combination needs
Every maker prints a mounting diagram, and the figures differ slightly from model to model, so the sheet that came in the carton is the authority. Sharp's installation instructions for its 30-inch models are a fair example of what those diagrams ask for: a 30-inch-wide space between cabinets, 30 inches or more between the cooking surface and the bottom of the cabinet above, 66 inches or more from the floor to that cabinet bottom, and at least 2 inches between the top of the backsplash and the bottom of the microwave for installation and servicing.
The microwave mounting height is not a matter of taste. It keeps the bottom of the microwave above the heat and flames rising from the cooking surface, and it leaves room to see and reach the pans underneath. Lower than the diagram allows and the microwave's underside, its light lens and its grease filters take heat they were not designed for.
Height and the people who use it
NFPA's advice is to place a microwave at a safe height within easy reach of everyone who uses it. A hood combination sits well above the counter, so a bowl of soup comes out at or above shoulder height for most adults and at eye level for a child. If a shorter member of the household or a child will heat food, a drawer below the counter or a countertop model may be the safer everyday microwave, with the hood combination used by adults.
Measurements to take before buying
- Width between the cabinets, at the top and at the bottom of the opening.
- Height from the cooking surface to the underside of the cabinet above.
- Height of the backsplash, so the 2-inch gap under the microwave can be kept.
- Depth of the wall cabinet, and whether its underside is recessed or flat.
- Where the studs are behind the opening, and where any existing duct comes through.
Source: Sharp — Over the Range Microwave Oven Installation Instructions (R-1881LSY and related models) — 30-inch space, 30 inches or more from the cooking surface, 66 inches or more from the floor, 2 inches above the backsplash; wall of 2x4 studs and 3/8-inch drywall carrying 110 pounds; at least one stud; toggle nuts cannot be withdrawn; test the top cabinet with 110 pounds; receptacle in the cabinet above on a separate 120-volt 15-amp or larger circuit, new outlet by an electrician before installation; two people; check for damage first; set the venting direction before mounting; grommet for a metal cabinet; keep the instructions for the inspector
What the wall behind it has to carry
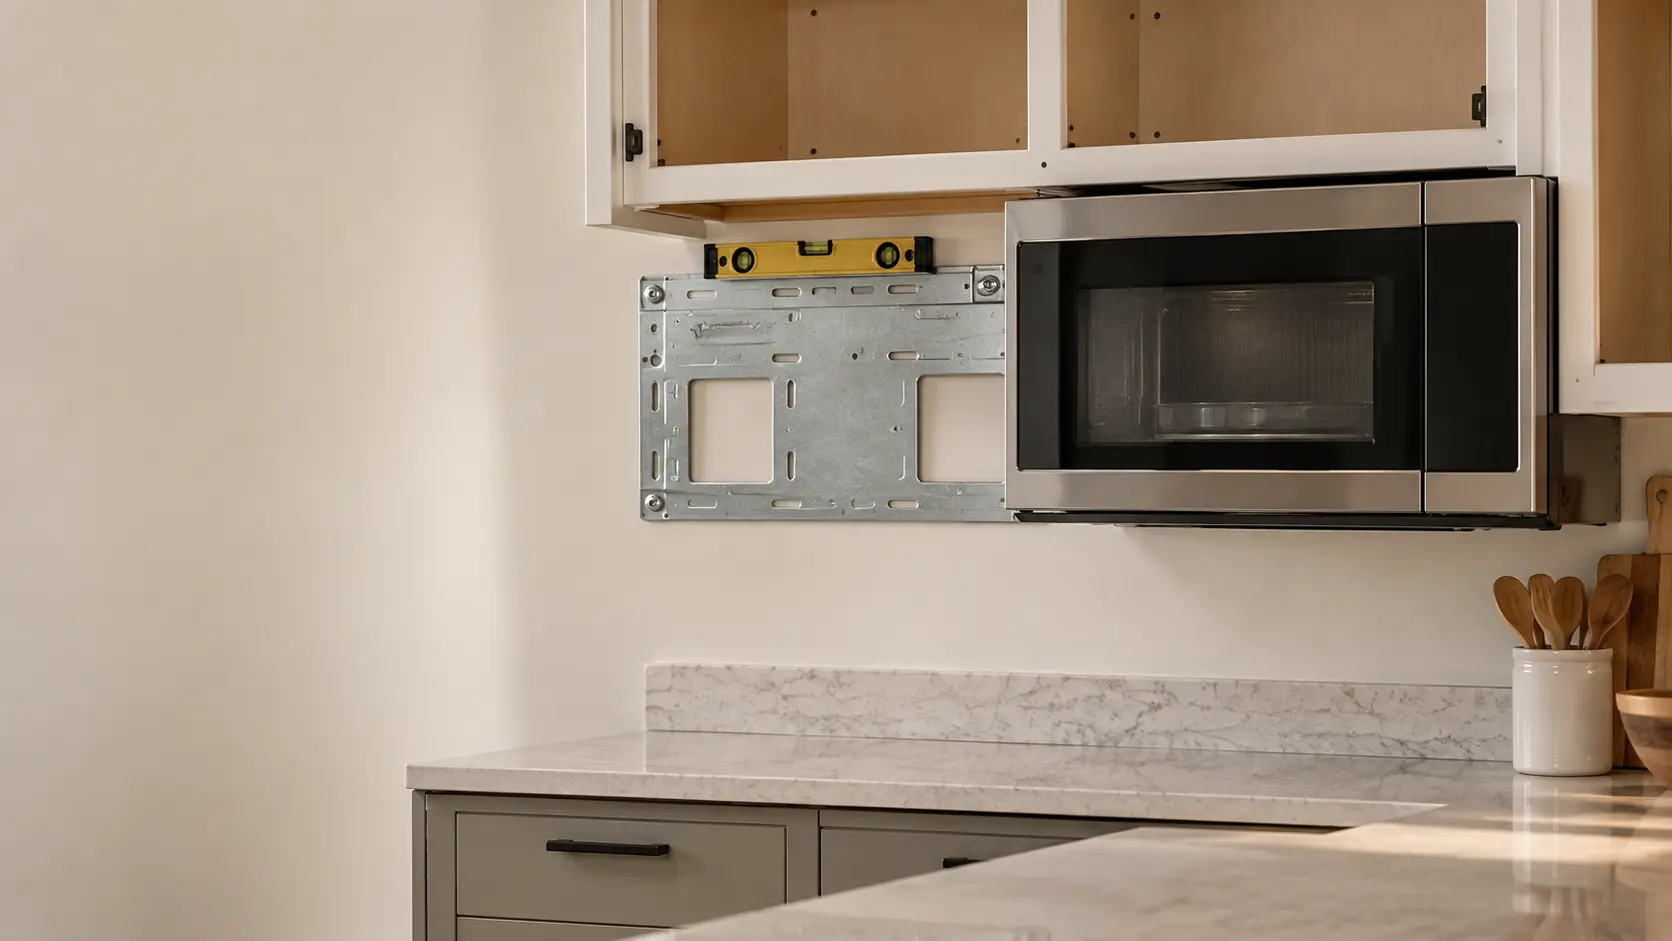
The microwave hangs on a mounting plate screwed to the wall, and the plate carries most of the weight. Sharp's instructions call for a flat wall of at least 2-by-4 wood studs with drywall or plaster of 3/8 inch or more, able to carry 110 pounds for the unit and its contents plus whatever is stored in the cabinet above. The unit should be attached to at least one stud, with wood screws through the plate into the stud and toggle bolts through the drywall at the holes that miss it.
Toggle bolts have one quirk worth knowing: once the wings open behind the drywall, they cannot be pulled back out. Sharp tells installers to leave more than the wall's thickness between the plate and the closed toggle before pushing it through, and to check every toggle is in the right hole first.
When no stud lines up with the plate
Some openings have studs in awkward places, particularly beside a window or where a duct was framed in. Sharp allows for this with special care in placing the toggle bolts and top cabinet screws, as shown on the wall template, and asks for the top cabinet to be tested with up to 110 pounds of extra weight inside to prove it is firmly fixed to the wall. A cabinet that shifts under that test is fixed before the microwave goes up.
Source: Sharp — Over the Range Microwave Oven Installation Instructions (R-1881LSY and related models) — 30-inch space, 30 inches or more from the cooking surface, 66 inches or more from the floor, 2 inches above the backsplash; wall of 2x4 studs and 3/8-inch drywall carrying 110 pounds; at least one stud; toggle nuts cannot be withdrawn; test the top cabinet with 110 pounds; receptacle in the cabinet above on a separate 120-volt 15-amp or larger circuit, new outlet by an electrician before installation; two people; check for damage first; set the venting direction before mounting; grommet for a metal cabinet; keep the instructions for the inspector
The cabinet above, the cord and the outlet
The top cabinet does two jobs. Screws with flat washers go up through its bottom into the top of the microwave, holding the front edge up, and the power cord passes through a hole in its bottom to an outlet inside. Sharp's instructions put that grounded receptacle inside the cabinet directly above the mounting location, on a separate 120-volt, 15-amp or larger branch circuit, and say a new outlet should be put in by a qualified electrician before the microwave is installed.
A metal cabinet bottom needs a grommet in the cord hole so the edge cannot cut into the cord, and Sharp supplies one for that purpose. The cord is bundled inside the cabinet, not left hanging behind the microwave, where it would sit in the heat.
Source: Sharp — Over the Range Microwave Oven Installation Instructions (R-1881LSY and related models) — 30-inch space, 30 inches or more from the cooking surface, 66 inches or more from the floor, 2 inches above the backsplash; wall of 2x4 studs and 3/8-inch drywall carrying 110 pounds; at least one stud; toggle nuts cannot be withdrawn; test the top cabinet with 110 pounds; receptacle in the cabinet above on a separate 120-volt 15-amp or larger circuit, new outlet by an electrician before installation; two people; check for damage first; set the venting direction before mounting; grommet for a metal cabinet; keep the instructions for the inspector
How the hang goes on the day
Sharp recommends two people. Before anything goes on the wall, the new microwave is checked for shipping damage: a misaligned or bent door, damaged door seals, broken or loose hinges and latches, or dents in the cavity. A unit with any of those is not installed or used. The venting direction, out through the top, out through the back or recirculating into the room, is also set before mounting, because the fan is set up for it inside the unit and cannot be reached once it hangs.
- Protect the cooking surface with the cut carton or a drop cloth.
- Mount the plate level, into the stud and through the toggles, using the wall template.
- Feed the cord up through the hole in the cabinet bottom while the microwave is lifted.
- Hook the lower back edge onto the plate and rotate the unit up against the wall.
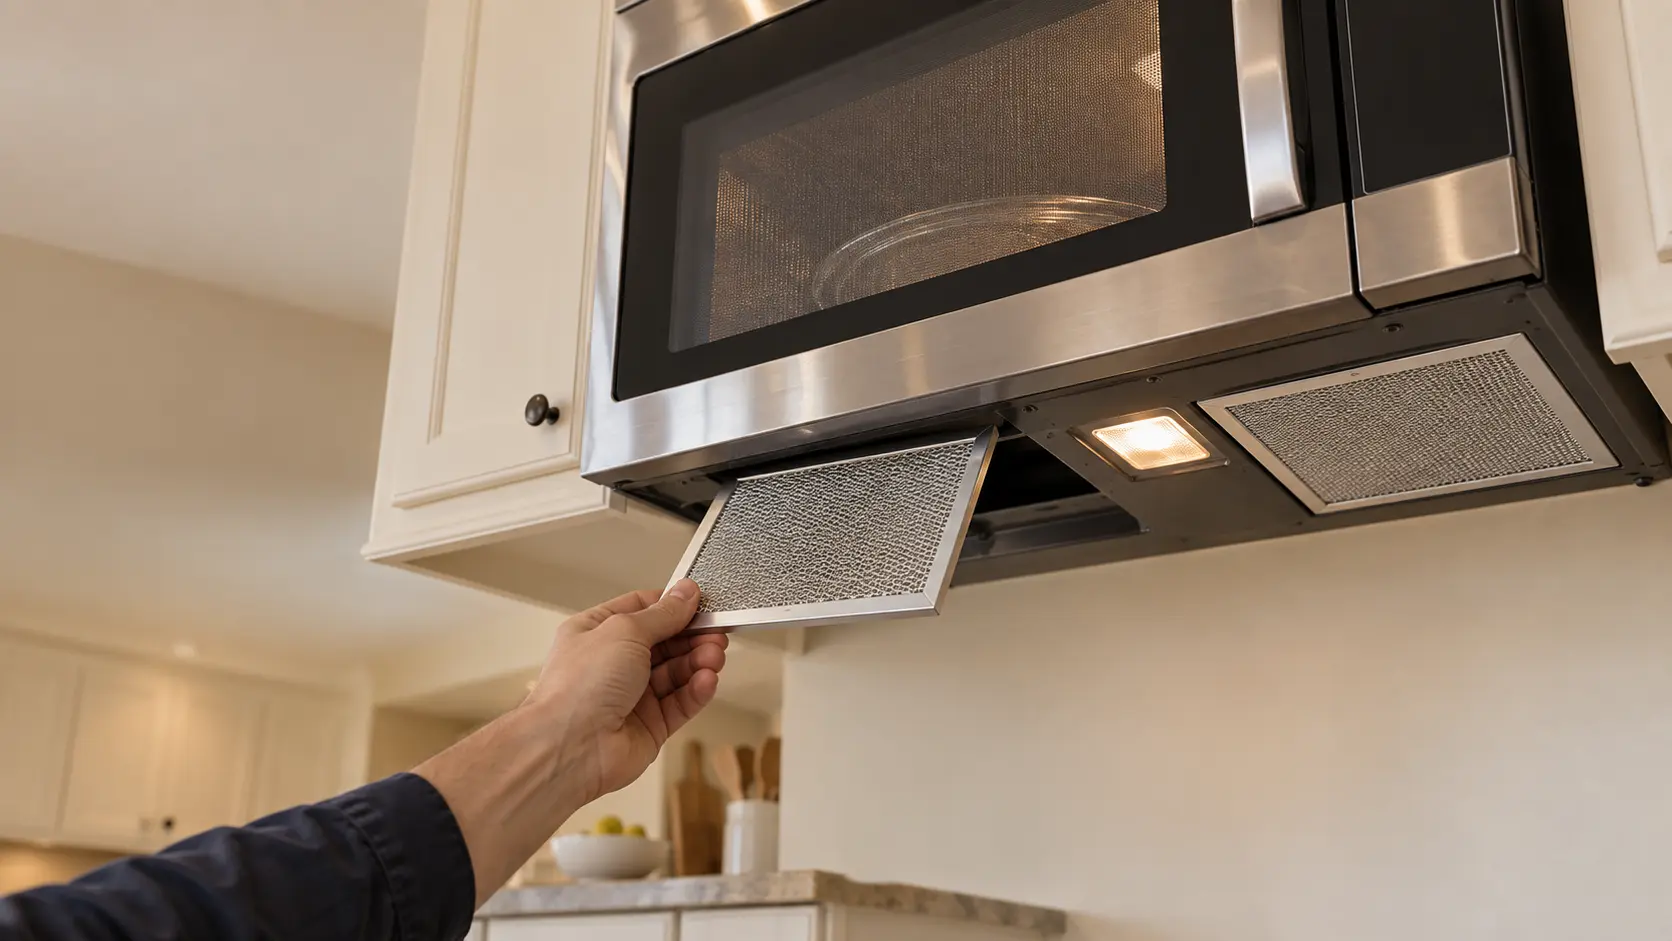
- Fix the unit through the grease filter openings, then refit the filters.
- Drive the top cabinet screws with their washers, bundle the cord and plug in.
- Keep the installation instructions for the electrical inspector, as Sharp asks.
Swapping an old hood combination for a new one
A replacement rarely lines up with the old unit's holes. The new wall plate comes with its own template, so the old plate comes off, the new one is marked fresh and old holes that fall close to new ones are filled. If the old unit vented outside, check that the new one's exhaust opening lines up with the existing duct before drilling anything.
Source: Sharp — Over the Range Microwave Oven Installation Instructions (R-1881LSY and related models) — 30-inch space, 30 inches or more from the cooking surface, 66 inches or more from the floor, 2 inches above the backsplash; wall of 2x4 studs and 3/8-inch drywall carrying 110 pounds; at least one stud; toggle nuts cannot be withdrawn; test the top cabinet with 110 pounds; receptacle in the cabinet above on a separate 120-volt 15-amp or larger circuit, new outlet by an electrician before installation; two people; check for damage first; set the venting direction before mounting; grommet for a metal cabinet; keep the instructions for the inspector
Checks after it is up, and signs it was hung wrong
Once it is hung, the microwave should sit level side to side, flat against the wall and tight to the cabinet above. Run it with a cup of water, then run the fan and the light. A microwave that was hung wrong usually tells you within weeks.
Signs it needs attention
- The front edge drops or the gap under the cabinet grows over time.
- The door swings open or closed on its own because the unit is not level.
- The microwave moves when the door is pulled or the handle is used.
- The cabinet above creaks or separates from the wall.
- The cord is tight, pinched at the cabinet hole or resting against the top of the unit.