
The door, its hinges and the latch
Start any microwave maintenance checklist here, because the door is the part that keeps the energy inside. Close it gently and listen for a clean click of the latch; it should not need a second push, and it should not spring back open. Look along the edges for a gap that is wider at one corner, a bent frame or a hinge that has dropped.
The FDA advises against operating a microwave whose door does not close firmly or is bent, warped or otherwise damaged, and says to stop using one that keeps running with the door open. Any of those findings ends the rest of the check: unplug the unit and book the door before it is used again.
Why the door gets the most attention
Federal rules require every microwave to have two independent interlock systems that stop it the moment the latch releases, plus a monitor that stops it if an interlock does not work. A sagging door can leave one switch closed and the other open, which is how the problems begin that a yearly look can catch early.
The window and its mesh
Look through the window with the cavity light on. The perforated metal screen inside the glass should be flat and whole, with no crack in the glass and no gap at the frame. A crack or a loose inner panel is a door repair.
Source: FDA — Microwave Ovens (radiation safety) — Do not operate a microwave whose door does not close firmly or is bent, warped or damaged; stop using one that runs with the door open; the federal standard requires two independent interlocks and a monitoring system
A heating baseline in a mug
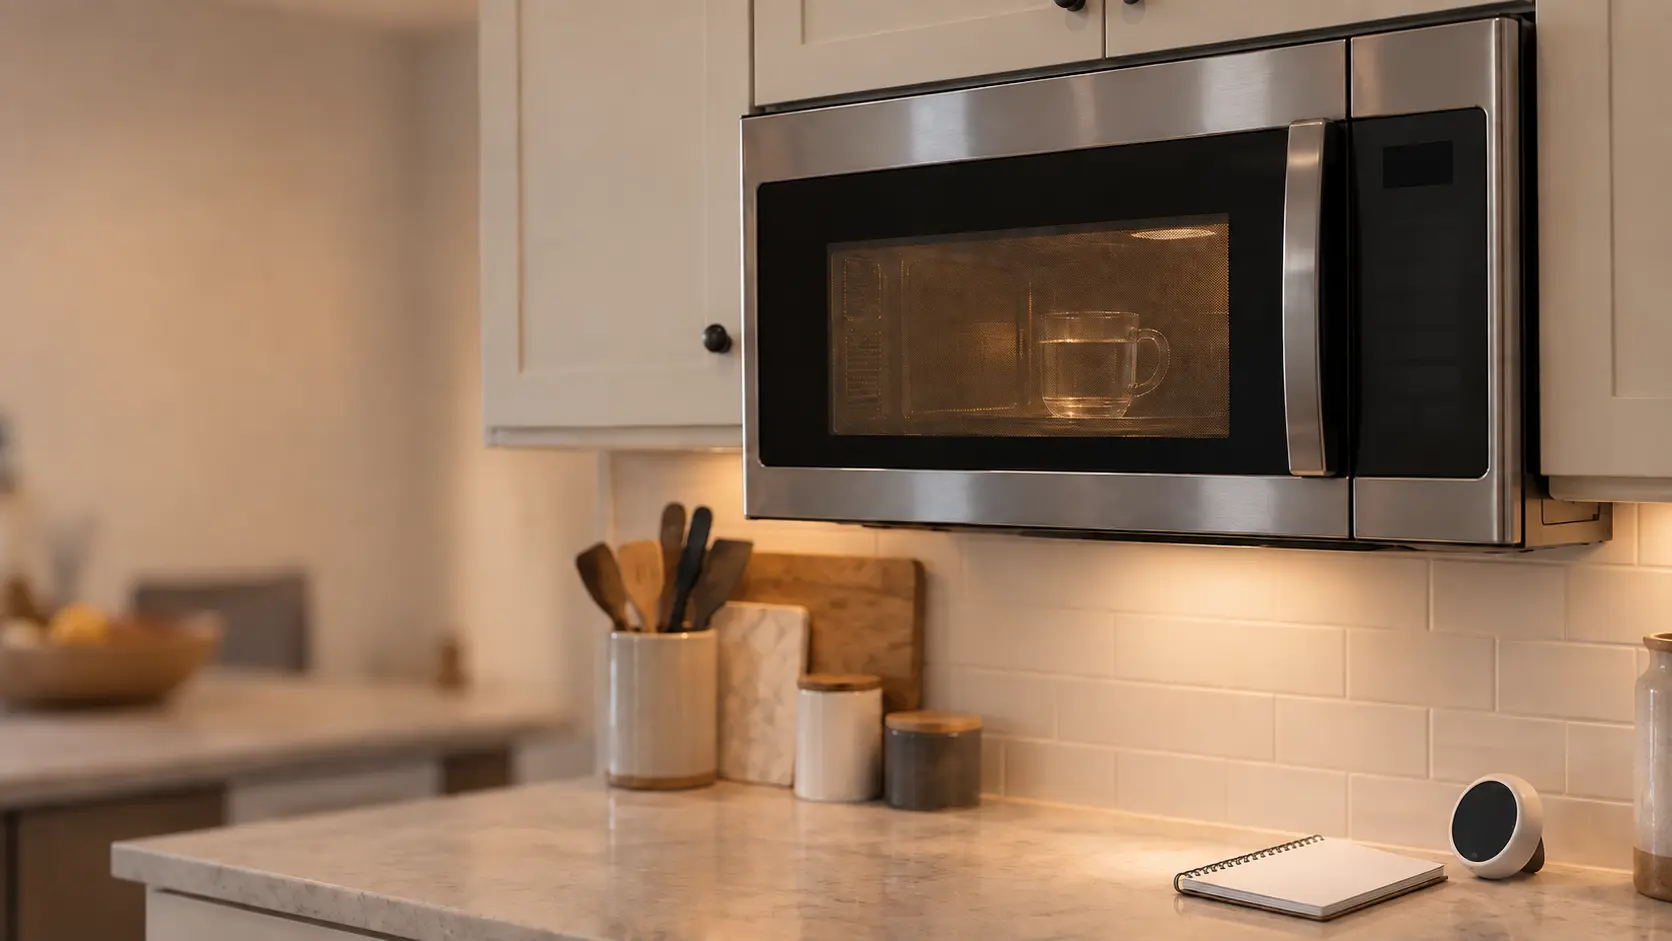
Heat a mug of cold tap water, filled to the same mark each year, at full power for the same number of seconds, and note how warm it comes out and how long it takes to steam. The exact figure does not matter; last year's figure does. A clearly slower result from the same mug hints at a weakening magnetron or a part feeding it, well before the unit stops heating. Use water rather than food, because food varies from day to day and water does not.
While it runs, listen. A steady hum and the quiet turn of the tray are normal. A new loud buzz, a rattle or a tray that stutters are worth writing down, since a technician can do more with a described sound than with a vague complaint.
- Same mug, same fill line, same water, same seconds, every year.
- Note the date, the time it took and anything unusual you heard.
- Never run the test with the cavity empty.

Cavity, cover and turntable
With the flashlight, look at the waveguide cover on the side wall or ceiling for brown or black spots, and along the cavity walls and floor for chipped paint or rust. Lift the tray, spin the roller ring by hand and check that the coupler in the floor is dry and turns the tray without slipping.
Clean as you go. A cavity that is wiped regularly makes every other problem easier to see, and the cavity-cleaning guide on this site covers the details.
Extra checks on a microwave hood combination
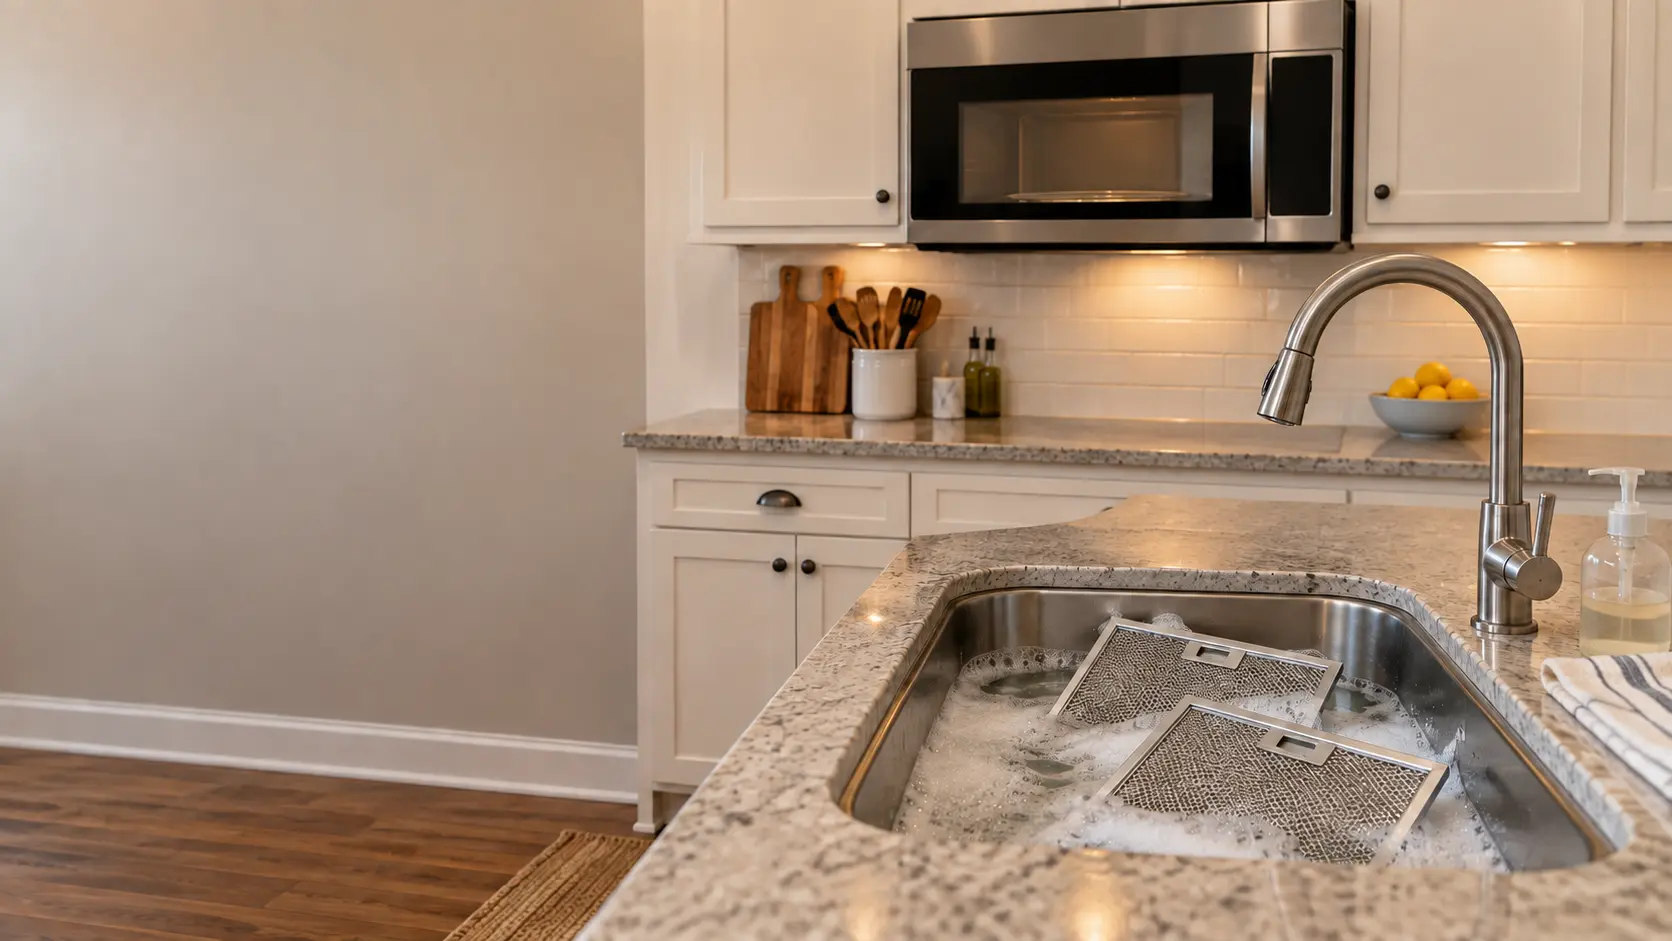
A unit that hangs above the cooking surface has more to look at. Run the fan on every speed and switch the light through its settings. Wash the metal grease filters, which a GE owner's manual asks for about once a month, and check the date you wrote down for the charcoal filter if the unit recirculates.
Then look at how it hangs. The bottom should be level from side to side, the top should sit snug against the cabinet above, and the unit should not rock when you press gently on the front corners.
- Fan: every speed runs, with no grinding or scraping.
- Light: both levels work, and the lens is not cracked or browned.
- Mounting: level, snug to the cabinet, no movement at the corners.
- Filters: grease mesh washed, charcoal pad date checked.
Drawer and built-in extras
Open and close a drawer model a few times; it should travel smoothly and stop cleanly at both ends. Wolf advises brushing crumbs out of the drawer guides and wiping them with a dry cloth. On a built-in, make sure nothing blocks the vents around the trim, such as a towel hung over the frame.
Source: GE Appliances — Over the Range Microwave Oven Owner's Manual (LVM1335) — The grease filters should be cleaned once a month, or as needed
Cord, outlet, recalls and the record
On a countertop model, check that the cord is not pinched behind the unit and that the plug and outlet are not warm or discolored. A fitted unit's plug is usually out of sight, so the check there is the breaker: note whether it has tripped during the year.
Check the settings as well. After a power outage a microwave can come back with its clock blinking, its control lock on or a demo mode active; knowing from the manual how to clear each one saves booking a visit for a unit that was never broken.
Finally, copy the model and serial number from the plate and search the Consumer Product Safety Commission recall list once a year. Keep the result in the notebook with the heating time and filter dates.
Source: US Consumer Product Safety Commission — Recalls — Product recalls are published by CPSC and can be searched by product and brand


